


I love how a good under cabinet light can change the whole vibe of my kitchen. Shadows disappear, and my countertops glow. Imagine prepping food with bright, even light right where you need it. Whether you own or rent, you can create a fresh, modern look with just a simple upgrade.
Key Takeaways
- Under cabinet lights brighten your kitchen, improve safety, and add style without a big remodel.
- LED strip lights save energy and money while providing bright, even light that is easy to install.
- Planning your kitchen layout and choosing the right light type and color temperature makes installation simple and effective.
Why Add Under Cabinet Light
Style & Ambiance
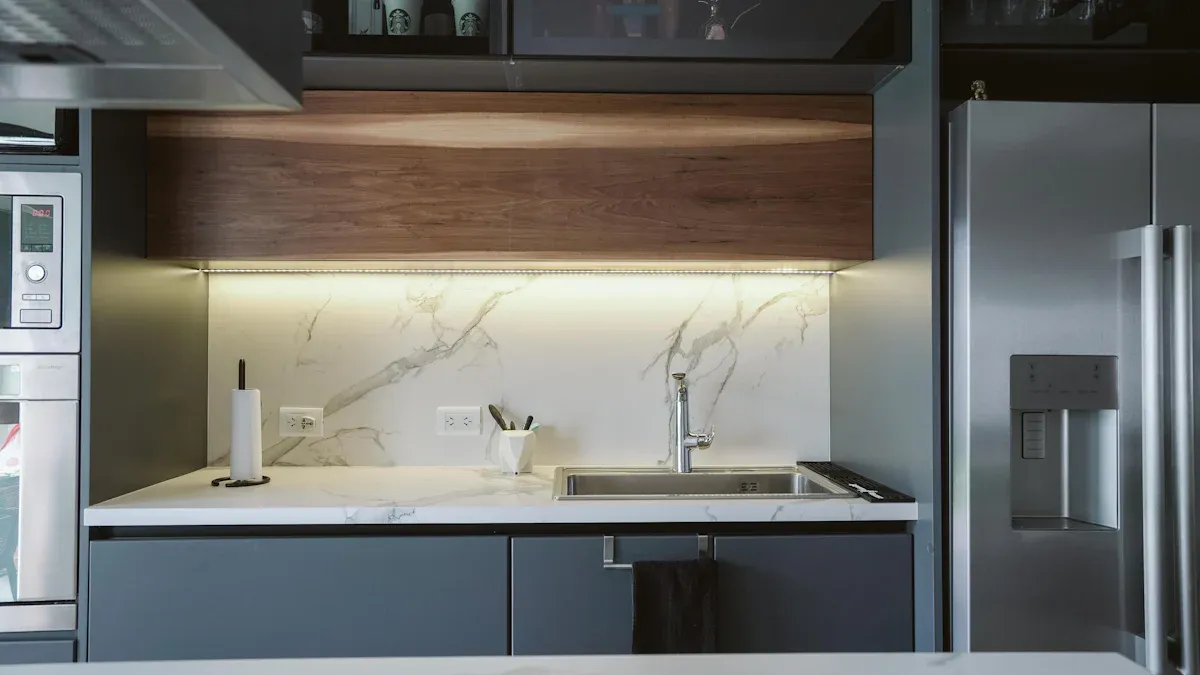
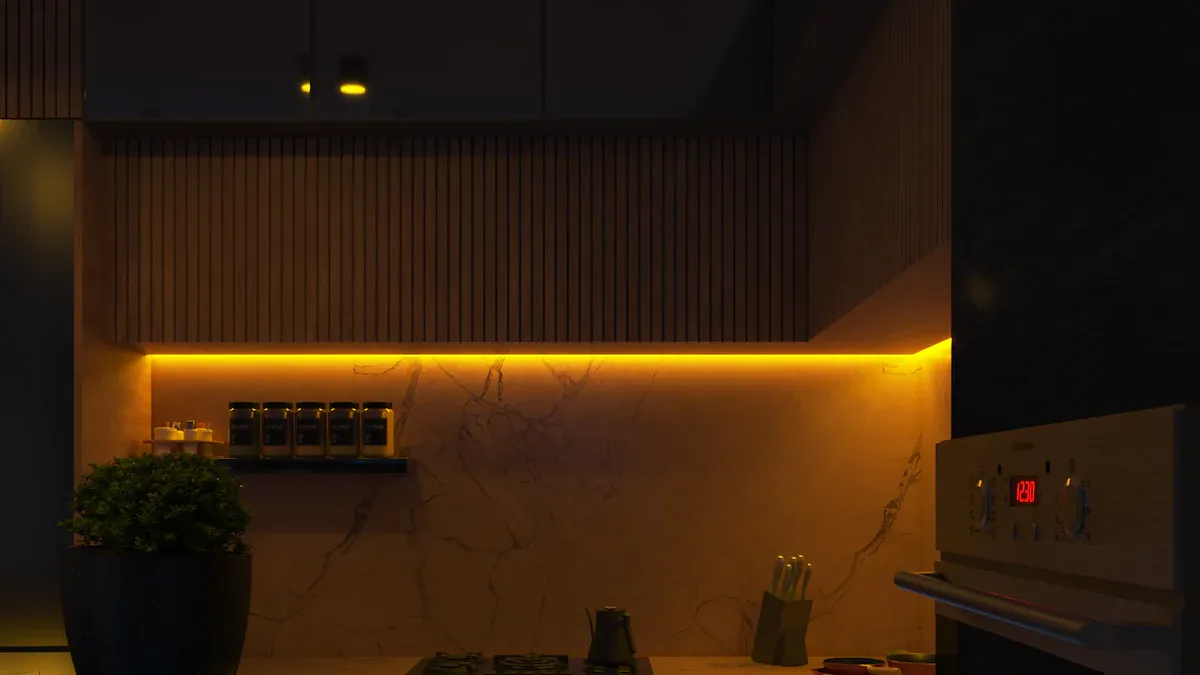
When I first added an under cabinet light to my kitchen, I noticed the change right away. The space felt brighter and more welcoming. The light made my backsplash pop and gave my counters a soft, even glow. I love how it sets the mood for any time of day. In the morning, I turn on the lights for a fresh start. At night, I dim them for a cozy vibe while I relax or entertain friends.
Tip: Try warm white lights for a relaxing feel, or cool white for a modern, crisp look.
A simple lighting upgrade can make your kitchen look high-end without a big remodel. Guests always notice the difference. I think it’s one of the easiest ways to boost style and ambiance.
Function & Safety
Good lighting isn’t just about looks. I find that a well-placed under cabinet light helps me see what I’m doing when I chop veggies or read recipes. No more working in my own shadow! It makes cooking safer and easier. I can spot spills or crumbs right away, so cleanup goes faster.
- Better visibility means fewer accidents with sharp knives.
- I don’t miss any messes hiding in dark corners.
- My kids can grab snacks safely, even in the evening.
Adding the right lighting makes my kitchen work better for everyone.
Types of Under Cabinet Lighting

LED Strip Lights
I always recommend LED strip lights when someone asks me about a quick kitchen upgrade. These strips give off bright, even light and use very little energy. I get at least 200 lumens per foot, which means my counters stay well-lit without wasting power. My electric bill dropped because these strips only use about 10-15 watts, but they shine as bright as old 60-100 watt bulbs. That’s up to 90% energy savings!
Before I stick them under my cabinets, I clean the surface, measure carefully, and test the lights. The steps are simple, but I take my time to get it right. I also use aluminum profiles for my LED strips. They help with heat and make everything look neat.
Tip: LED strip lights work great for renters. You can remove them later without damage.
Puck Lights
Puck lights remind me of little hockey pucks. I like using them for spot lighting. They create pools of light, perfect for highlighting a favorite dish or a coffee station. I can space them out or group them together for different effects. Some puck lights run on batteries, so I don’t need to mess with wires.
Linear Bars
Linear bars give my kitchen a modern look. They provide a steady line of light, which helps when I want a clean, shadow-free workspace. I find them easy to mount, and they come in different lengths to fit any cabinet.
Plug-In vs. Hardwired
I’ve tried both plug-in and hardwired options for my under cabinet light. Plug-in lights are easy to install and perfect for renters. I just plug them into an outlet and I’m done. Hardwired lights look seamless and don’t clutter my counters with cords, but I usually call an electrician for those.
Choosing the Right Under Cabinet Light
Kitchen Layout
When I start planning my kitchen lighting, I always look at the layout first. Every kitchen is different. Some have long stretches of cabinets, while others have small sections or corners. I measure each area where I want to add light. If I have a galley kitchen, I focus on even lighting along both sides. For L-shaped or U-shaped kitchens, I break the space into zones. This helps me decide if I need one long strip, a few puck lights, or a mix of both.
I also check for obstacles. Sometimes, there are pipes, outlets, or uneven surfaces under the cabinets. I make sure to pick lights that fit well and won’t get in the way. If I have glass-front cabinets, I like to add a little extra light inside to show off my dishes.
Tip: Draw a quick sketch of your kitchen and mark where you want each light. This makes shopping and installation much easier.
Lighting Needs
I think about how I use my kitchen every day. Do I need bright task lighting for chopping and cooking? Or do I want a soft glow for late-night snacks? I usually want both. That’s why I look for lights with dimmers. Dimmers let me control the brightness for any mood or task.
Color temperature matters, too. Warm white (around 2700K-3000K) feels cozy and inviting. Cool white (4000K-5000K) looks crisp and modern. I like to match the color temperature to my kitchen style. If I have a lot of stainless steel and white cabinets, cool white looks great. For wood cabinets or a farmhouse vibe, I go with warm white.
Smart home features are a game changer. I love being able to turn my under cabinet light on or off with my phone or voice. Some lights even let me set schedules or change colors. If you already use smart devices, check if your new lights will work with them.
Design & Budget
I always set a budget before I shop. There are options for every price range. Plug-in lights cost less and work well for renters. Hardwired lights look sleek but may need an electrician. I weigh the pros and cons for my situation.
One thing I learned is that spending a little more upfront can save money later. For example, I started using LED profiles with my strip lights. These profiles cost more at first, but they protect the lights and help them last longer. Over ten years, I saved about $135 per meter because I didn’t have to replace the strips as often. The profiles also made maintenance easier and kept my lights running cooler, which means they last two to three times longer.
Here’s a quick look at the savings I found:
| Cost Factor | 5-Year Savings | 10-Year Savings |
|---|---|---|
| Replacement Costs | 60-70% | 75-85% |
| Maintenance | 40-50% | 50-60% |
| Energy Usage | 10-15% | 15-20% |
| Labor | 50-60% | 60-70% |
I always remind myself that the right under cabinet light is an investment. It improves my kitchen’s look, makes cooking safer, and saves money over time. I choose features that fit my needs and style, but I never forget to think about long-term value.
Installation
DIY or Professional
When I first thought about adding an under cabinet light, I wondered if I could handle it myself. I found that many options are perfect for DIY. Plug-in lights and battery-powered strips are easy to install, even if you rent. I just needed a few basic tools and a little patience. For hardwired lights, I usually call a professional. Electricians know how to handle wiring safely and follow local codes. If you feel unsure about electrical work, it’s always smart to get help.
Step-by-Step Basics
Here’s how I usually install under cabinet lighting:
- I measure the cabinet undersides and plan where each light will go. I check for corners and uneven spots.
- I pick the right color temperature—warm white for a cozy feel or neutral white for tasks.
- I gather my tools: a fine-tooth saw for aluminum profiles, a drill, and a level.
- I mount the aluminum channels using clips or adhesive. I make sure everything lines up straight.
- I organize the wires neatly and place the power supply where it stays hidden.
- I test the lights and controls before finishing up.
Tip: Wireless dimmers make it easy to control the lights without extra wiring.
Safety Tips
- I always check that my kitchen outlets have GFCI protection. These outlets help prevent shocks, especially near sinks.
- I never overload circuits. I add up the total wattage of my lights and make sure the outlet can handle it.
- I follow the National Electrical Code for safe installation. Regular checks keep everything working right.
Note: If you ever feel unsure, ask a licensed electrician for advice. Safety comes first!
Efficiency & Features
Energy Saving
When I switched to LED lighting, I noticed a real difference in my energy bill. LEDs give me more light (lumens) while using less power (watts). I always check both numbers when I shop for new lights. If I see a strip that gives 400 lumens but only uses 5 watts, I know I’m getting a bright kitchen without wasting energy. This is much better than old bulbs that use more power for the same light.
I also learned that lighting can make up a big part of my monthly utility costs, especially in summer when I use the kitchen more. Studies show that lighting and electric equipment can use up to 60% of a building’s energy. By choosing efficient lights and using dimmers, I keep my costs down all year.
Tip: Use dimmers or motion sensors to save even more energy. I set my lights to turn off when I leave the room.
Maintenance
I love how little work LED lights need. I rarely have to replace them. When I use aluminum profiles, my lights stay cooler and last even longer. I wipe the covers with a soft cloth every few weeks to keep them bright. If a section stops working, I can swap out just that part instead of the whole setup.
Smart Controls
Smart controls make my kitchen feel modern. I use my phone or voice to turn the lights on and off. I set schedules so the lights come on when I start cooking. Some systems let me change the color or brightness with a tap. This makes my kitchen work for me, not the other way around.
I love how a few simple steps can totally change my kitchen. I plan, choose the right lights, and install them for better style, safety, and energy savings. Check out this table—good lighting always ranks high for usability and safety. Try smart controls or layer your lights for even more impact!
| Group | Feature Description | Importance | Performance | Takeaway |
|---|---|---|---|---|
| A | Natural light and LED over work surfaces | High | High | Boosts usability and safety |
| D | Illumination (including under cabinet lighting) | High | Low | Big chance to improve your kitchen experience |
| A | Illumination | Low | High | Still helps with comfort and ergonomics |
FAQ
How do I hide the wires for under cabinet lights?
I tuck the wires behind the cabinet lip or use adhesive cable clips. Sometimes, I paint the wires to match the cabinets for a cleaner look.
Can I install under cabinet lights if I rent?
Yes! I use plug-in or battery-powered lights. I stick them on with removable adhesive strips. When I move, I just peel them off.
What color temperature works best in the kitchen?
I like warm white (2700K-3000K) for a cozy feel. Cool white (4000K-5000K) looks crisp and modern. I pick what matches my kitchen style.
Post time: Jul-03-2025