


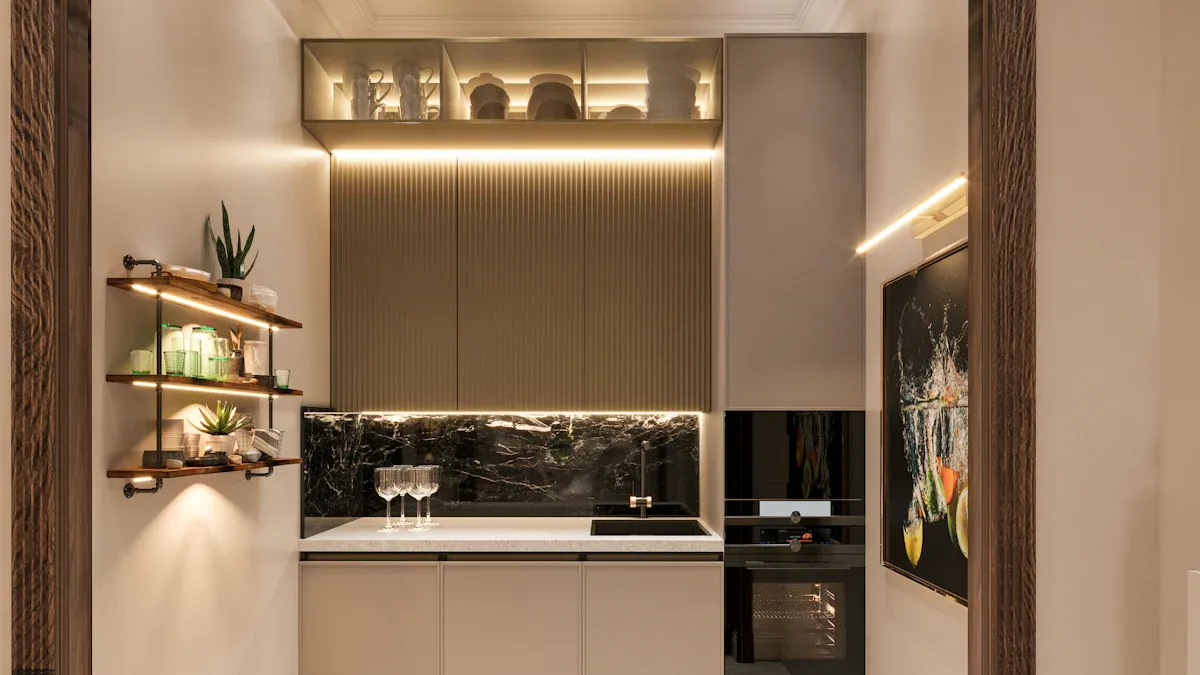
When I started shopping for an under cabinet light, I realized there’s a lot to think about. I paid attention to type, brightness, color temperature, installation, energy efficiency, power source, mounting, and extra features. Take a look at this quick snapshot of what homeowners experience:
| Aspect | Statistic/Result |
|---|---|
| Yearly energy saved | 316 kWh per person |
| User satisfaction | 89% found energy-saving tips helpful |
Choosing the right light can make your kitchen brighter, more efficient, and a lot more enjoyable.
Key Takeaways
- Choose LED under cabinet lights for energy savings, long life, and cool operation to keep your kitchen bright and efficient.
- Pick the right brightness and color temperature—300-500 lumens per foot and warm white (2700K) for a cozy feel or bright white (5000K) for a crisp workspace.
- Select a power source and installation method that fits your kitchen and skills, like plug-in for easy setup or hardwired for a clean look, and consider smart features like dimming and motion sensors for convenience.
Under Cabinet Light Basics
Types
When I first looked for an under cabinet light, I found several types. Each one has its own strengths and weaknesses. Here’s a quick rundown:
| Type | Pros | Cons |
|---|---|---|
| LED | Energy efficient, long-lasting, cool to touch | Higher upfront cost |
| Fluorescent | Good brightness, affordable | Bulky, can flicker, contains mercury |
| Xenon | Warm light, dimmable | Gets hot, uses more energy |
| Halogen | Bright, good color rendering | Runs hot, less energy efficient |
| Incandescent | Soft light, cheap upfront | Short lifespan, high energy use |
I chose LED for my kitchen. It saves energy and lasts a long time. I also like that it stays cool, so I don’t worry about heat under my cabinets.
Brightness & Color
Getting the right brightness and color makes a big difference. I learned that most kitchens need about 300-500 lumens per foot for under cabinet task lighting. This gives enough light for chopping, reading recipes, or cleaning up, but it doesn’t feel harsh.
Tip: If you want a cozy, relaxed kitchen, look for warm white lights around 2700K. For a bright, crisp look that helps with detailed cooking, go for lights near 5000K.
I use warm white in my kitchen because it feels inviting when I have friends over. Some people prefer bright white for a more modern, energetic vibe. I also picked a dimmable under cabinet light. This lets me adjust the brightness for different times of day or activities.
Here’s a quick list to help you choose:
- Aim for 300-500 lumens per foot for task lighting.
- Pick 2700K for a soft, family-friendly feel.
- Choose 5000K for a clean, focused workspace.
- Dimmable options give you more control.
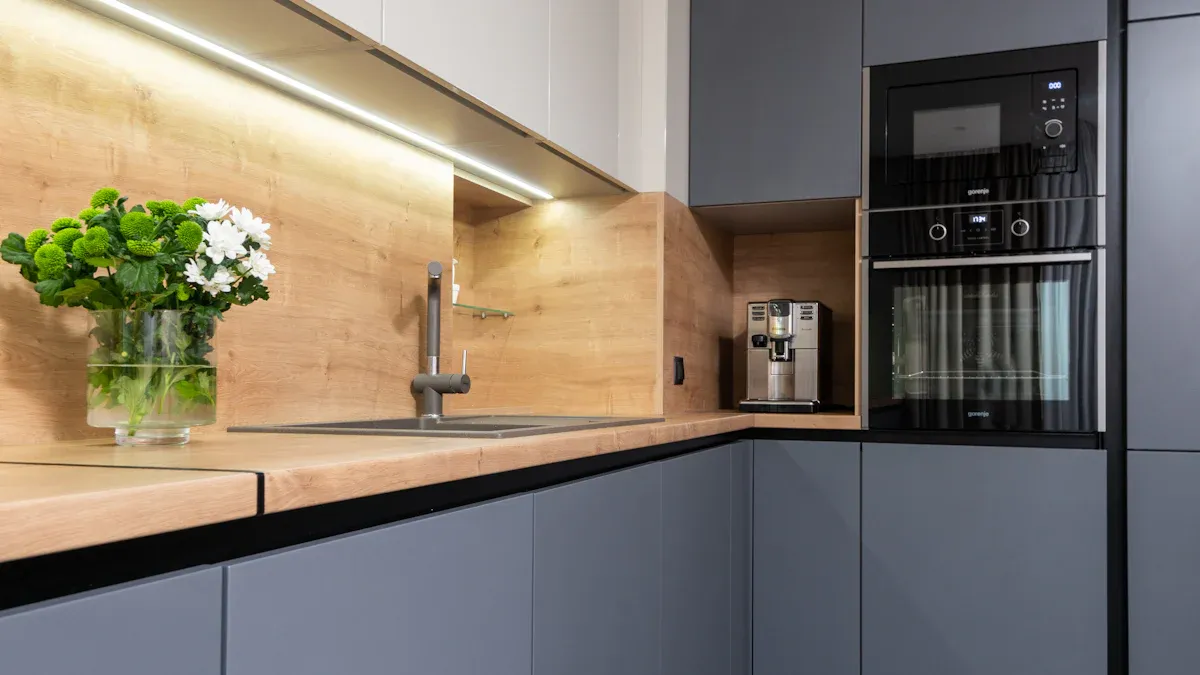
Power & Installation
I found three main ways to power an under cabinet light: plug-in, hardwired, and battery-powered.
- Plug-in: Easiest to install. Just plug it into an outlet. I like this for renters or anyone who wants a quick upgrade.
- Hardwired: Looks neat because there are no visible cords. It takes more work to install, and you might need an electrician. I picked this for a permanent, seamless look.
- Battery-powered: No wires at all. Great for places without outlets. You’ll need to change batteries, though.
Mounting is simple for most lights. Some use screws, others use adhesive strips. I used screws for a secure fit, but adhesive works if you want something temporary.
Note: Always measure your cabinet space before buying. This helps you avoid gaps or shadows.
Choosing the right power source and installation method depends on your kitchen and how handy you feel. I went with hardwired LEDs for a clean look and low maintenance.
Choosing the Right Features
Energy Efficiency
When I started looking for the best under cabinet light, I wanted something that would save energy and money. I quickly learned that LED lights stand out from the rest. Even though they cost a bit more at first, they use much less electricity than older bulbs. Over time, I noticed my energy bills dropped. LEDs last a really long time—some can shine for up to 100,000 hours. That means I don’t have to replace them often, which saves me time and hassle.
Here’s what makes LEDs so efficient:
- They use 80–90% less energy than old incandescent bulbs.
- LEDs give off less heat, so my kitchen stays cooler.
- I don’t have to worry about changing bulbs every year.
- They help the environment by producing less CO2.
I also found that I needed fewer LED strips to light up my counters. The light is focused and bright, so I didn’t waste energy lighting up places I didn’t need.
Tip: If you want to save money and help the planet, go with LED under cabinet lights. They pay for themselves over time.
Dimming & Sensors
I love having control over my kitchen lighting. Dimmable under cabinet lights let me set the mood for any occasion. When I cook, I turn the lights up bright. If I’m having a late-night snack, I dim them for a softer glow. Some lights even let me change the color temperature, so I can switch from warm to cool light depending on what I’m doing.
Motion sensors are another feature I didn’t know I needed until I tried them. Now, when I walk into the kitchen with my hands full, the lights turn on automatically. This makes life easier and saves energy because the lights only stay on when I need them.
Here are some features I recommend:
- Dimmable lights for adjustable brightness
- Adjustable color temperature for different tasks
- Motion sensors for hands-free convenience
Note: These features might cost a little more, but they make your kitchen smarter and more comfortable.
Build Quality & Maintenance
I always check the build quality before buying any under cabinet light. A sturdy light lasts longer and works better. I look for lights with solid housings and good diffusers. Diffusers spread the light evenly, so I don’t see any harsh spots or shadows on my counters.
Drivers are important, too. They help the light work smoothly and last longer. I pick lights with reliable drivers to avoid flickering or early burnout.
Maintenance is easy with LEDs. I just wipe them down with a soft cloth to keep them clean. Since they last so long, I rarely have to replace them. If I ever need to change a light, I make sure to follow the instructions so I don’t damage anything.
Here’s a quick checklist I use:
- Choose lights with strong, quality materials.
- Look for even light distribution with good diffusers.
- Make sure the driver is reliable.
- Clean the lights regularly to keep them bright.
Pro Tip: Spending a little more on quality now means fewer headaches later.
I covered the basics you need to know:
- Types and brightness
- Color and installation
- Efficiency and smart features
Take a look at your kitchen. Think about what fits your space and style. Ready to upgrade? Pick the right lighting and enjoy a brighter, more inviting home.
FAQ
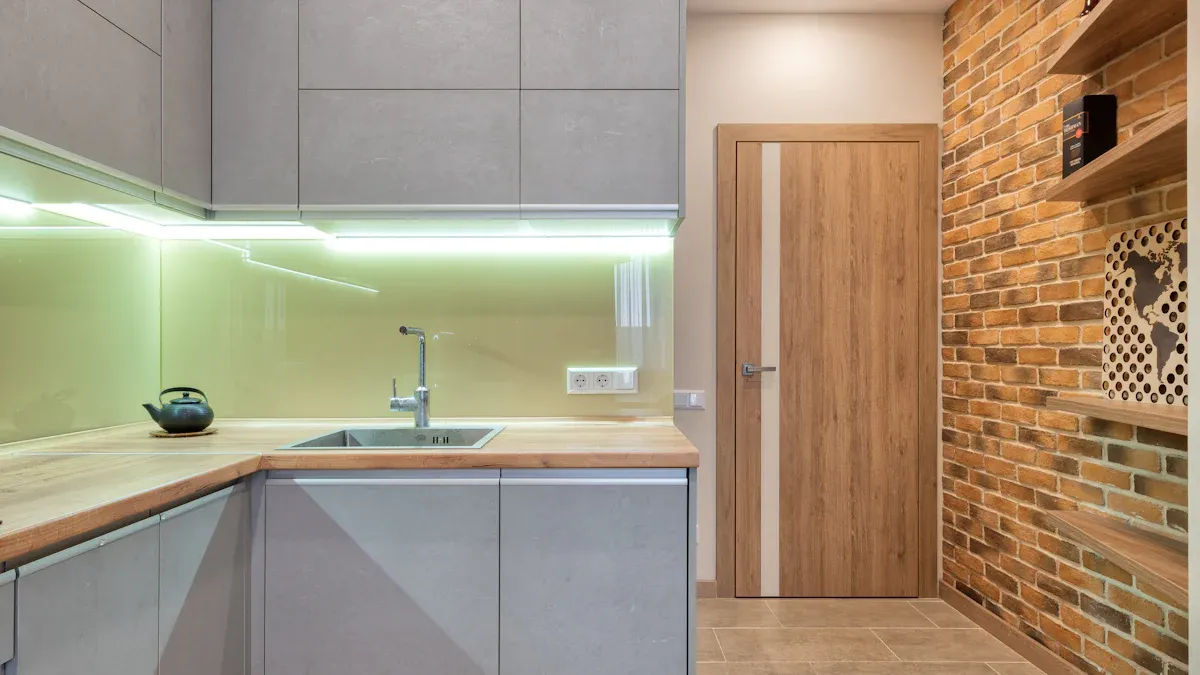
How do I hide wires for under cabinet lights?
I tuck wires behind the cabinet lip or use adhesive cable clips. Sometimes, I paint the wires to match the cabinets. It looks neat and tidy.
Can I install under cabinet lights myself?
Yes, I installed mine with basic tools. Plug-in and battery lights are easiest. For hardwired lights, I called an electrician for safety.
What if my cabinets have uneven bottoms?
I use mounting clips or adhesive pads to adjust the light strip. Sometimes, I add a small trim piece for a smooth, finished look.
Post time: Jul-01-2025